How to update Website Pro+ homepage banner photo
Branding
This photo will make your website stand out. You can log in and update this banner photo anytime to give your Website Pro+ design a fresh new look. It stretches across the full width of the screen, creating a bold and unique visual impact.
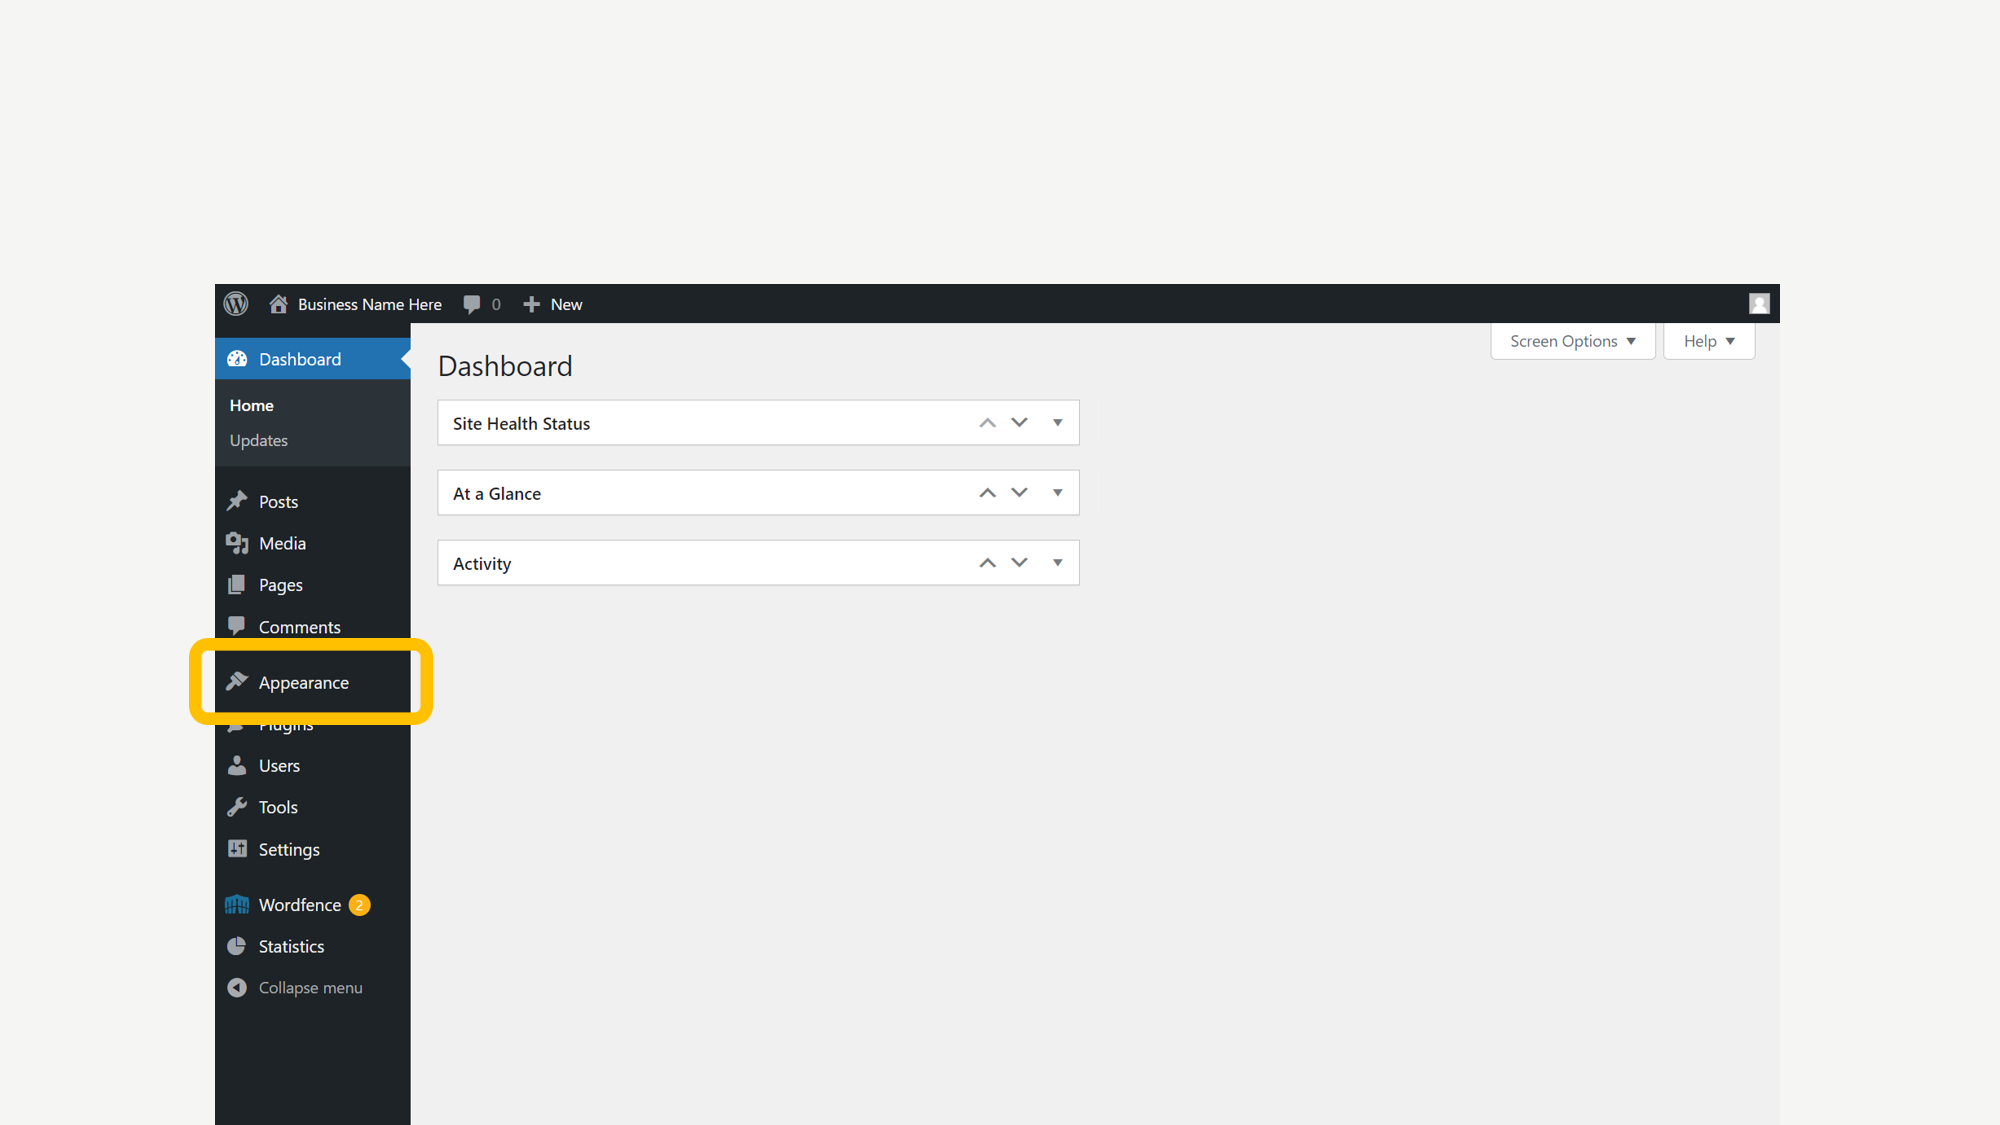
1. Click on Appearance
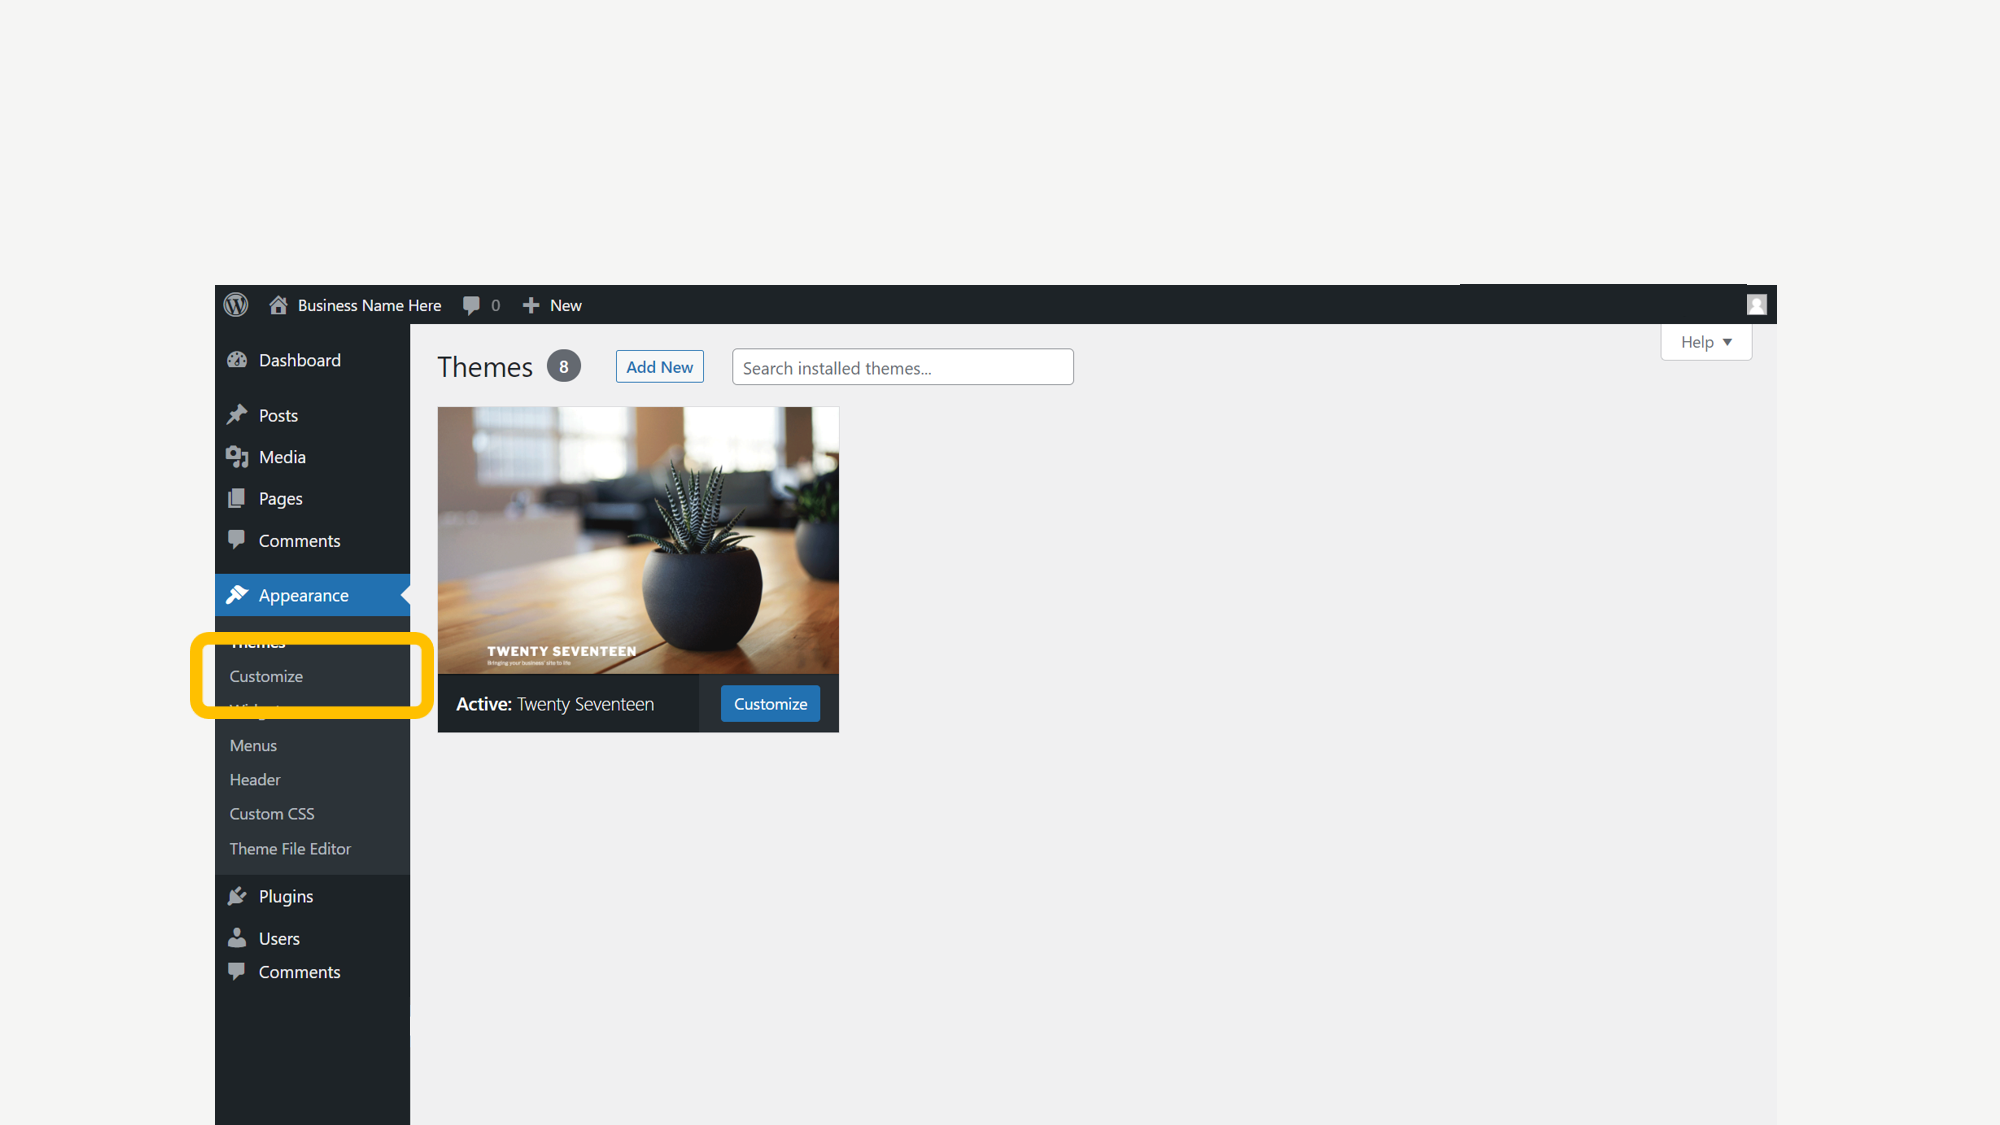
2. Click Customize
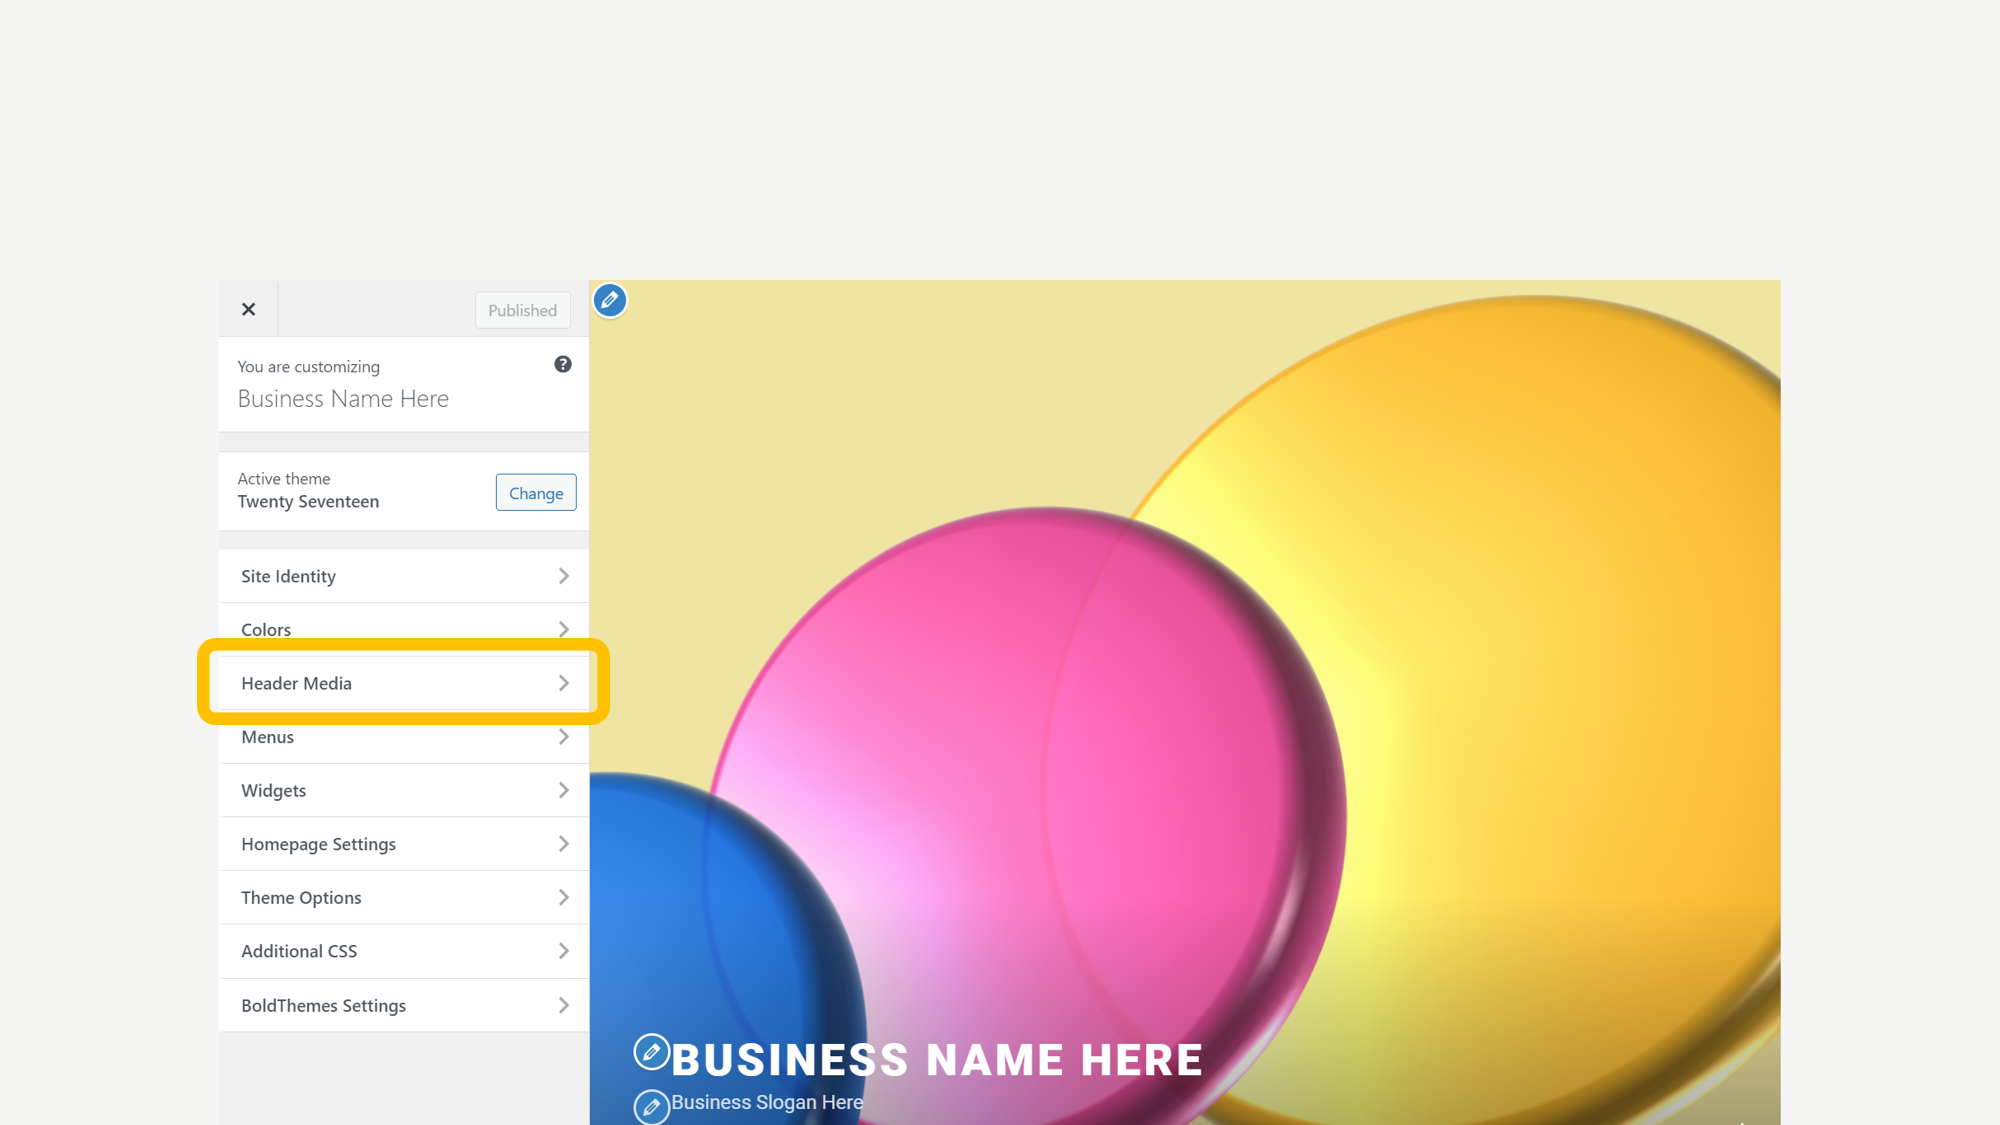
3. Click on Header Media
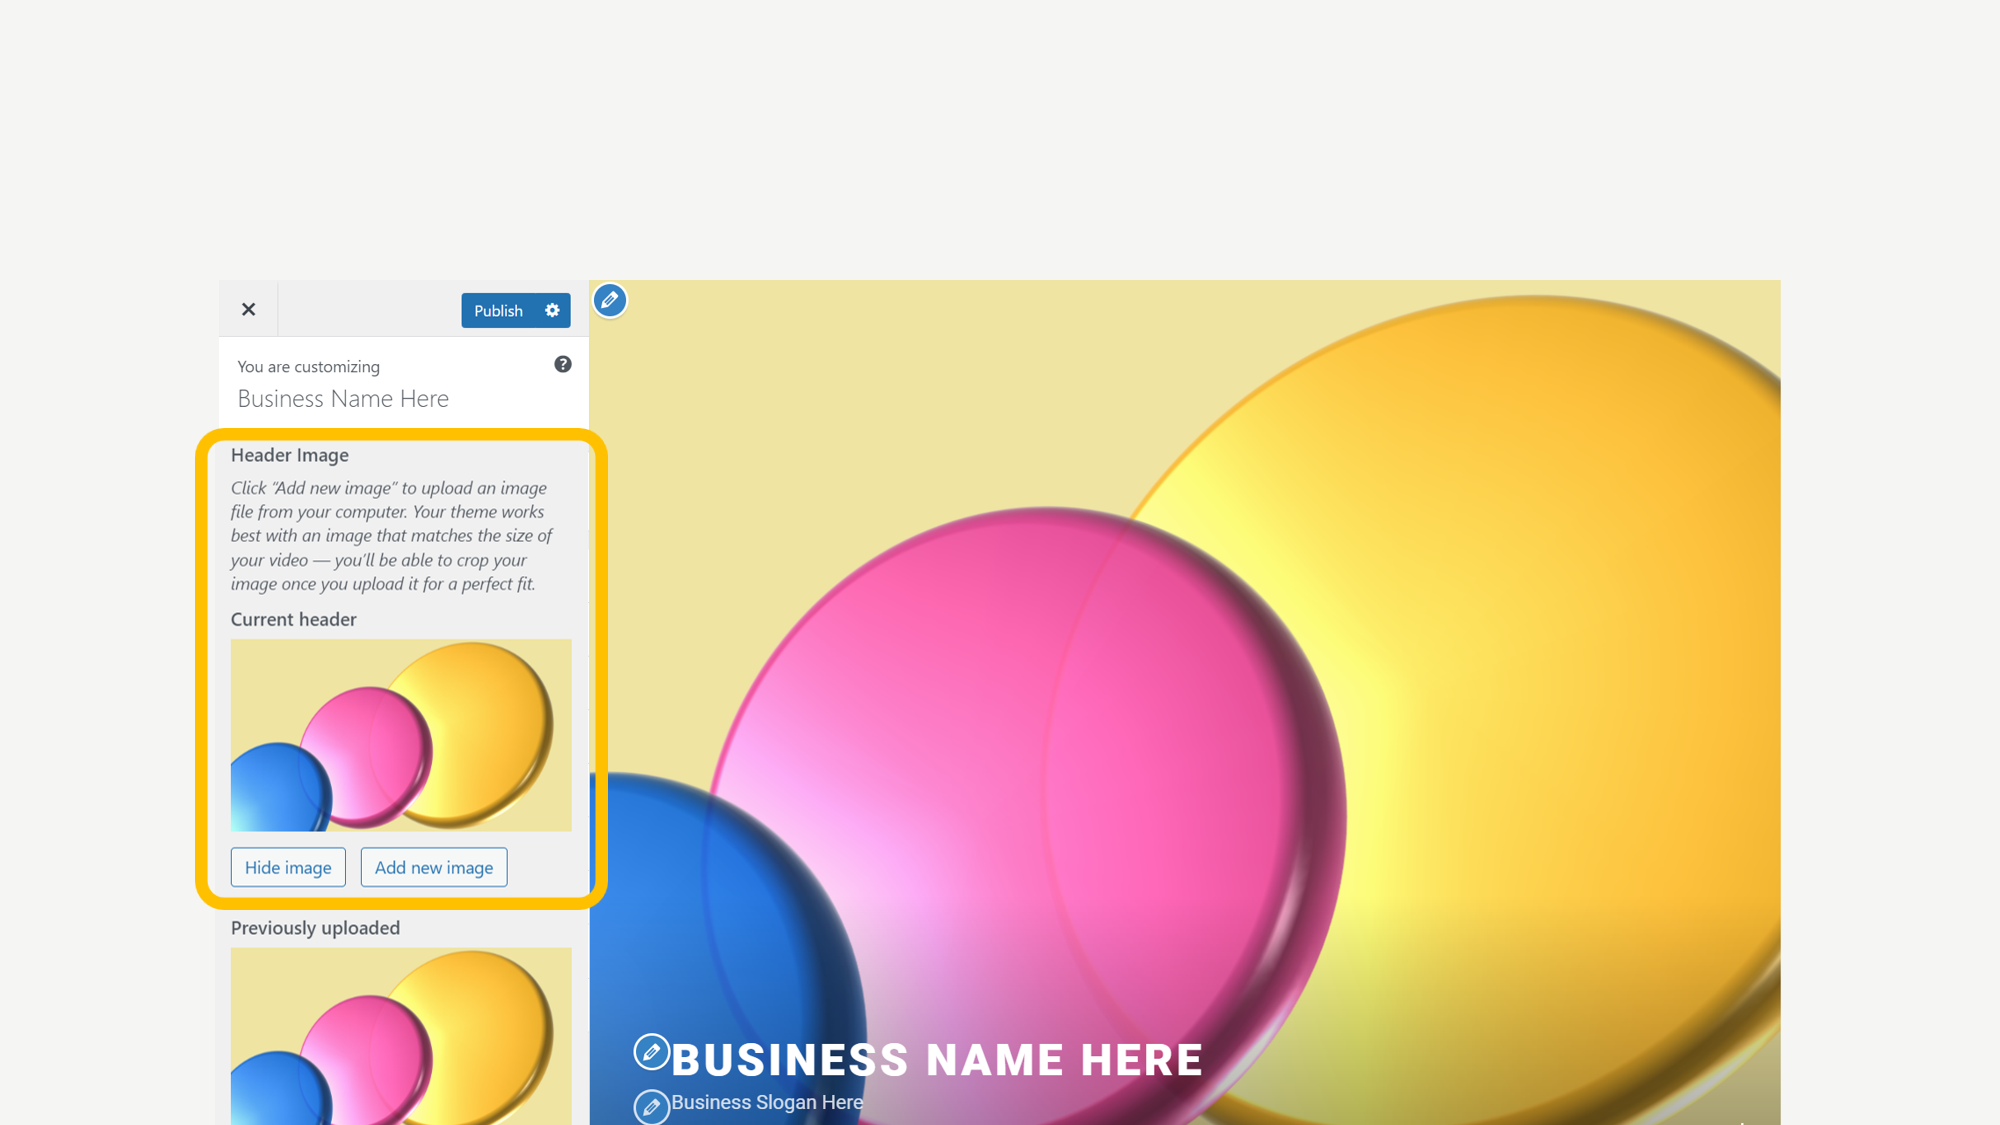
4. Now, add a new image
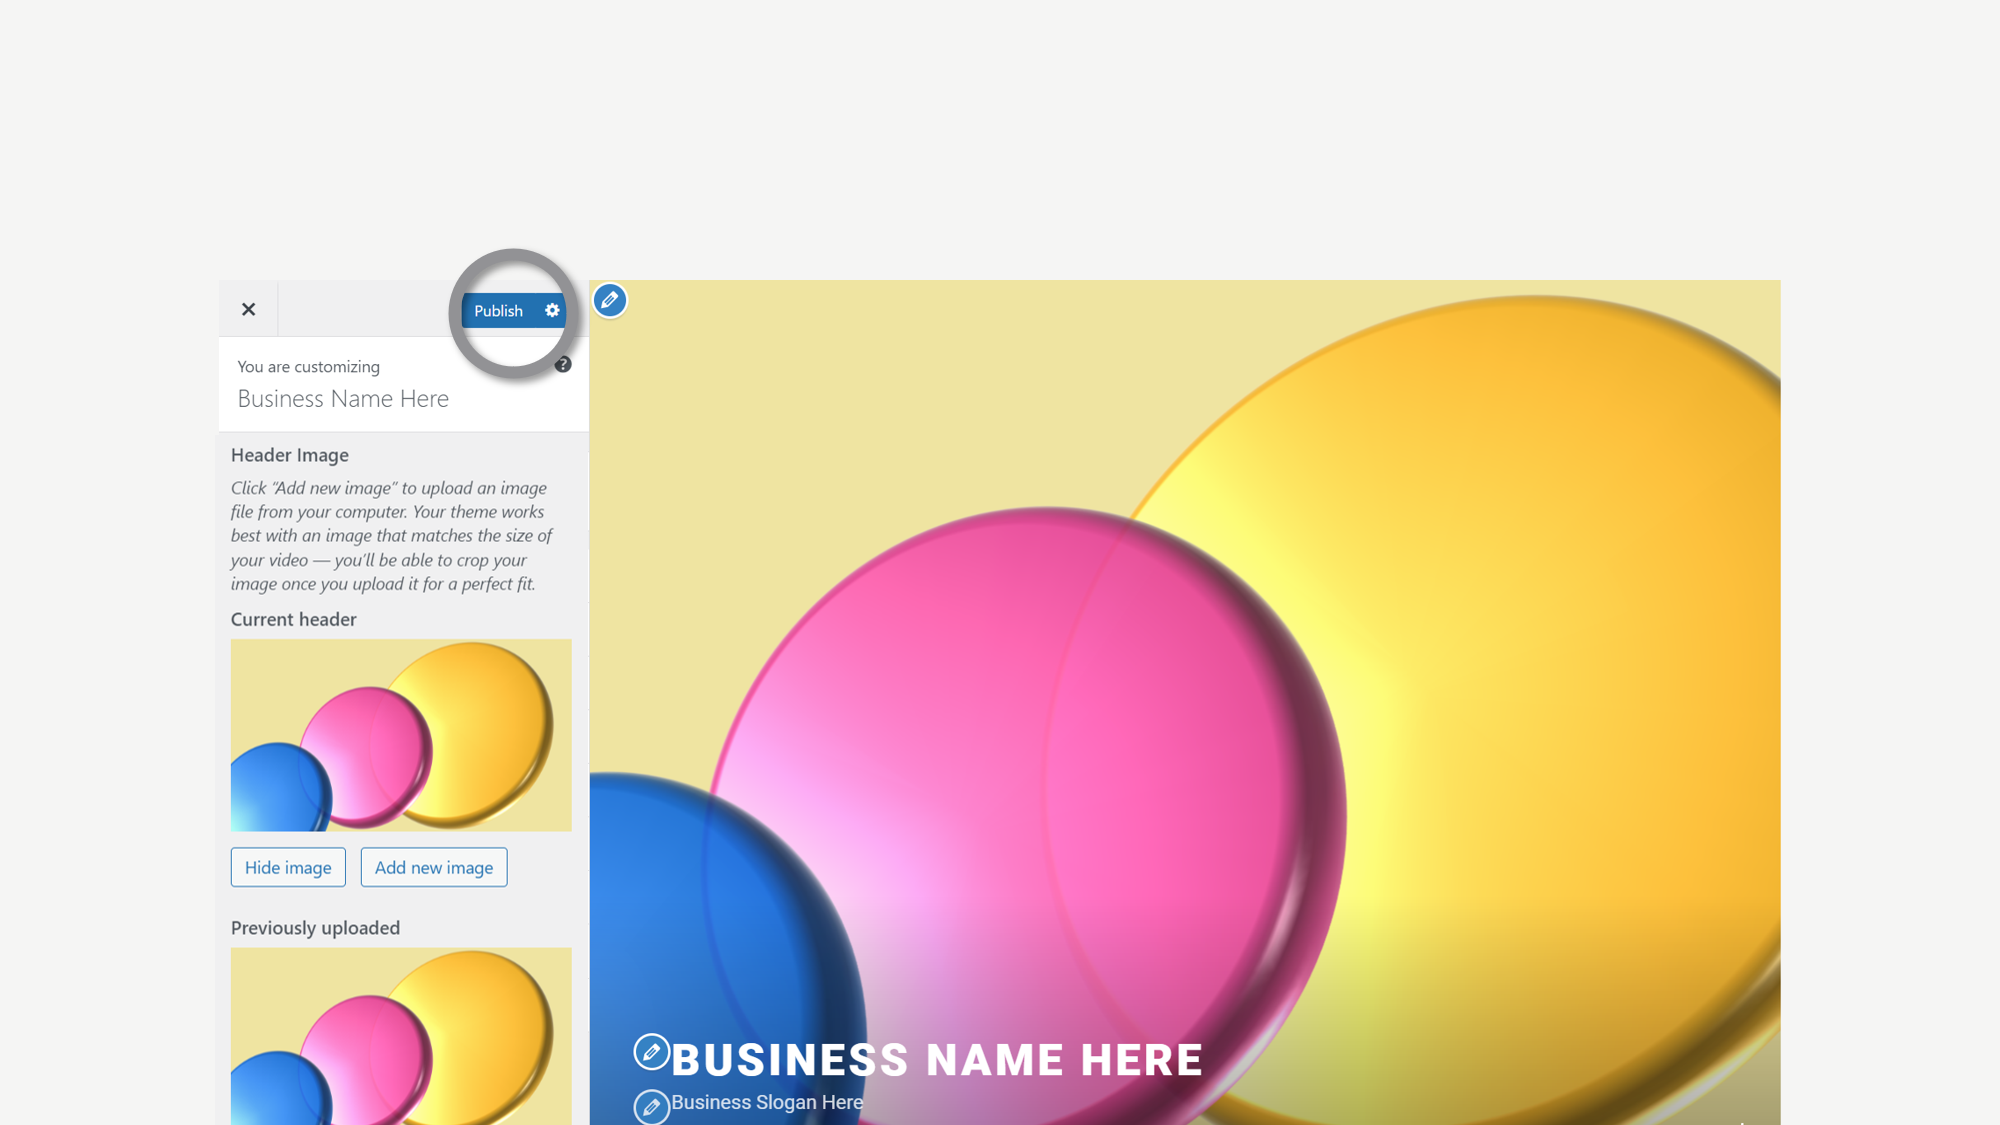
5. Click Publish when ready
In case you're asking.
To find the Appearance option in WordPress, log in to your WordPress dashboard. On the left-hand side menu, you’ll see various options. Click on “Appearance” to access the customization and theme settings for your site.
The Customize option in WordPress allows you to make changes to your site’s appearance and settings in real-time. It provides a preview panel where you can see the changes as you make them. This includes modifying your site’s colors, fonts, layout, widgets, and more. It’s a user-friendly way to tailor your site to your preferences without needing to code.
Header Media is a section within the Customize menu that allows you to manage the media elements in your site’s header, such as images and videos. To find it, go to Appearance > Customize > Header Media. Here, you can add, remove, or adjust the header image or video.
To add a new image to the banner, follow these steps:
1. Go to Appearance > Customize > Header Media.
2. Click on “Add new image.”
3. Select or upload the image you want to use from your computer or media library.
4. Crop or adjust the image as needed.
5. Click “Save & Publish” to make the changes live.
For the homepage banner photo, it’s recommended to use high-quality JPEG or PNG files. JPEGs are great for photos, while PNGs work well for images with transparency or text. Make sure the file size is optimized to ensure fast loading times without compromising quality.
The recommended dimensions for the banner image is 2000 x 1200 pixels. This size ensures your image looks sharp and clear across different devices and screen sizes.
WordPress provides built-in tools to crop and adjust your image to ensure it looks just right. You can make these adjustments in the Header Media section, allowing you to fine-tune the image dimensions and positioning to fit perfectly.
You can preview your changes in real-time before publishing them. In the Customize section, you’ll see a preview panel on the right side of the screen where your site is displayed. Any changes you make will be reflected here, allowing you to see how your new banner image looks before making it live.
The Publish button saves all the changes you’ve made to your site and makes them live for your visitors to see. You should click it once you’re satisfied with your updates and ready to make them public.
Yes, the new banner photo will typically be visible immediately after you click Publish. In rare cases, it might take a little time to sync, but this is uncommon.
Yes, you can revert to the old banner photo if you’re not satisfied with the new one. Simply re-upload the previous image in the Header Media section and click Publish again to save the changes.
For header images and other site identity updates, WordPress does not provide an option to save changes as a draft. Changes will only be saved once you click Publish.
Yes, the Header Media section offers additional customization options. You can add a video instead of an image, choose to display only the header image on the front page, and adjust the overlay color and opacity for better visual effects. These options can help you create a more dynamic and engaging header for your site.
To make more detailed technical adjustments and expand your knowledge, visit the WordPress documentation for the Twenty Seventeen theme. This theme has extensive documentation available here: https://wordpress.org/documentation/article/twenty-seventeen/ Happy updating!
