Email Installation Guides
Android
Learn how to install branded emails on your Android device using Outlook.
Learn more about adding an email account in the Outlook for Android app.

Learn how to install email into your default email app for Android.
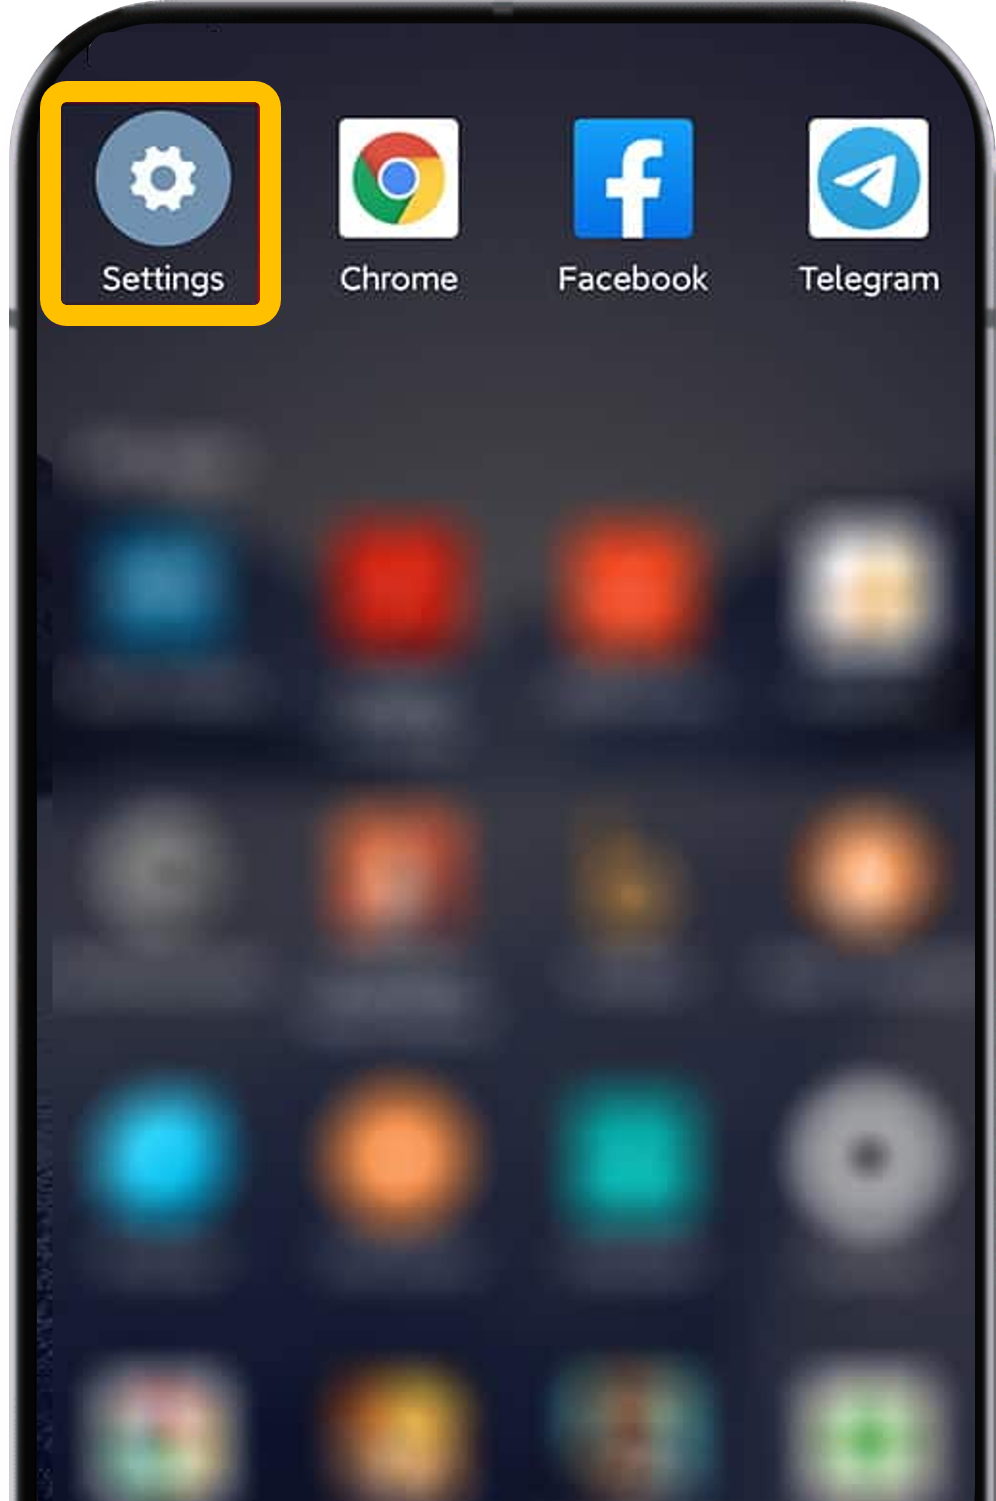
Turn on your smartphone and find the settings icon.
Most Android phones have the same “Gear Icon” representing “Settings” for phones. You can find this by swiping down from the top of your device.
In the setting menu, find the section for “Accounts”. This might be slightly different depending on the device the version of Android you are running.
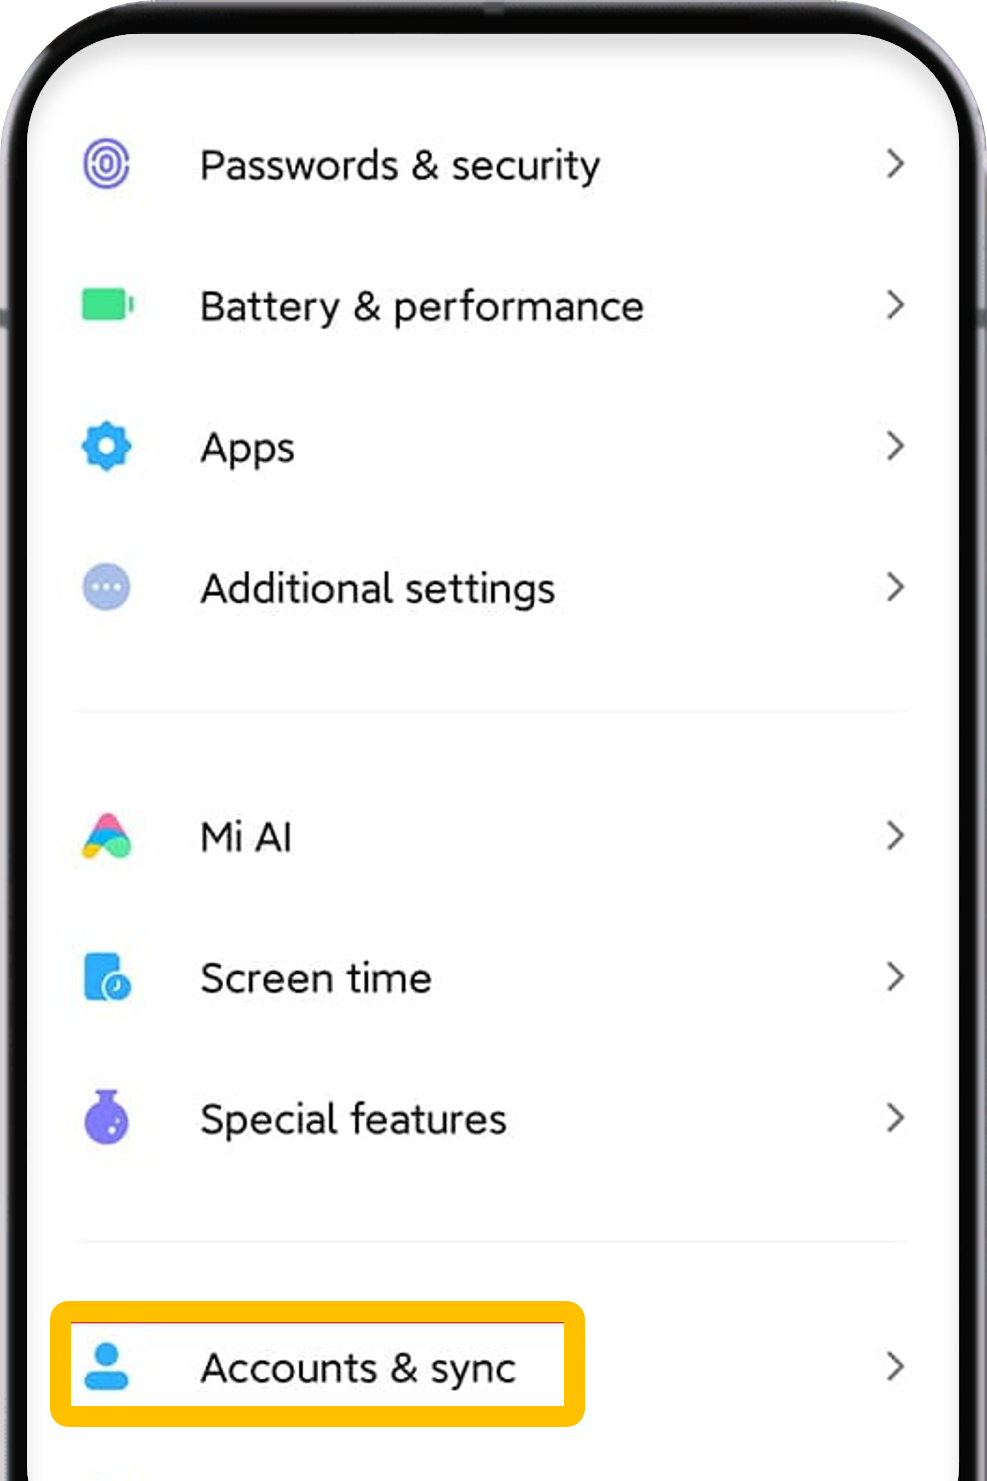
After you’ve located the “Accounts” section, you need to find where it says “Add account”.
Usually, this is found at the bottom of the “User & Accounts” page under other apps which you are using on your phone.
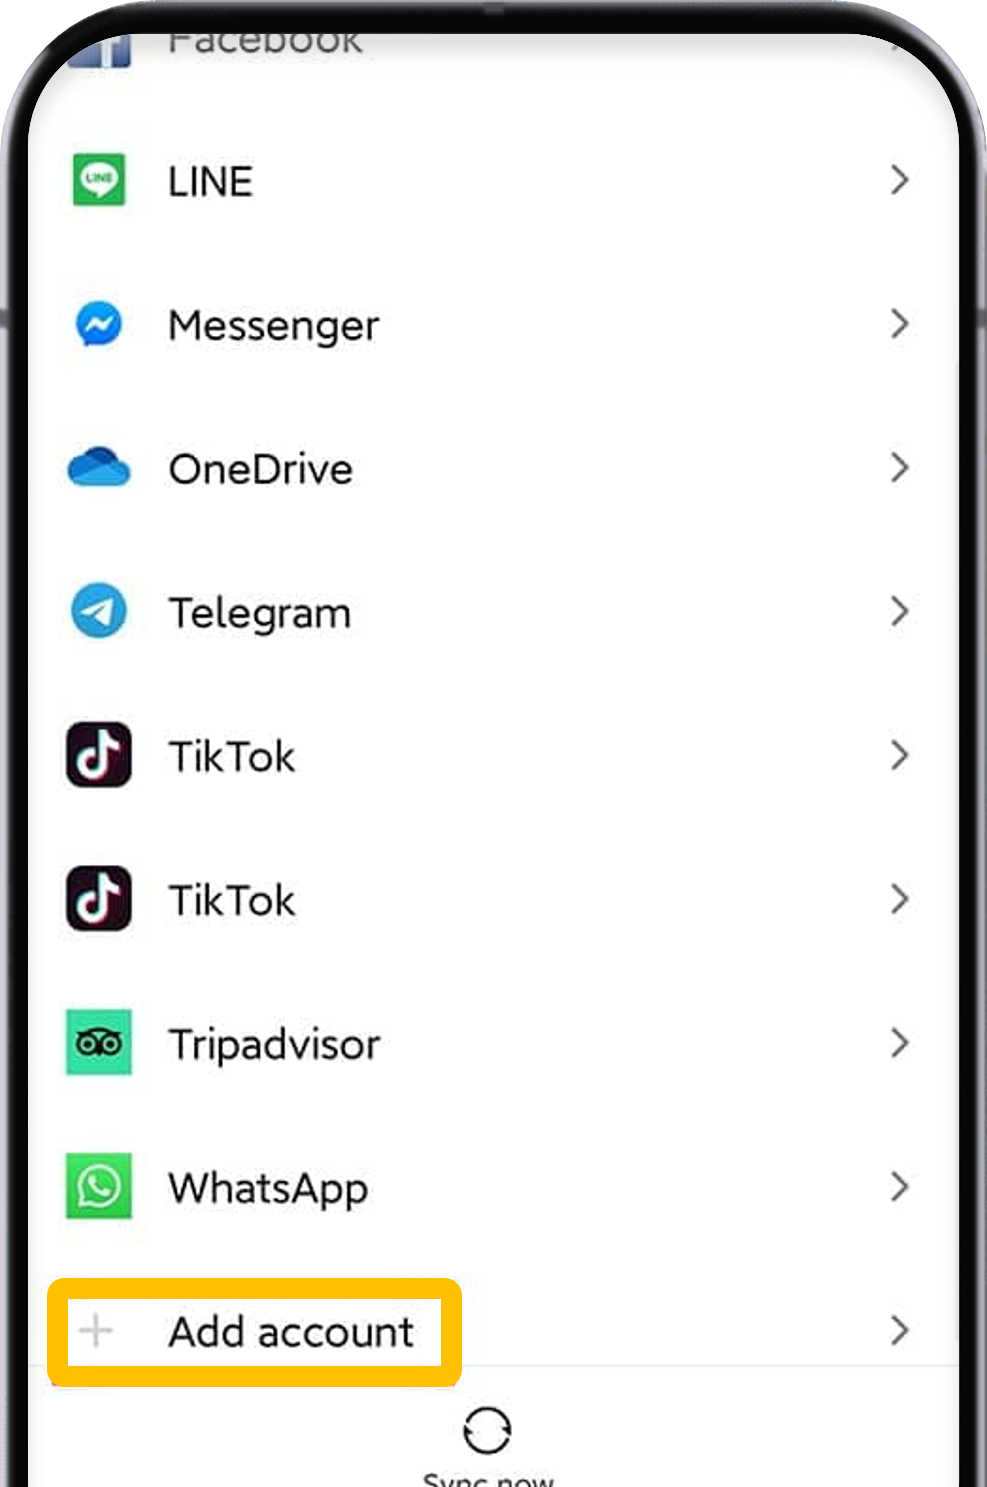
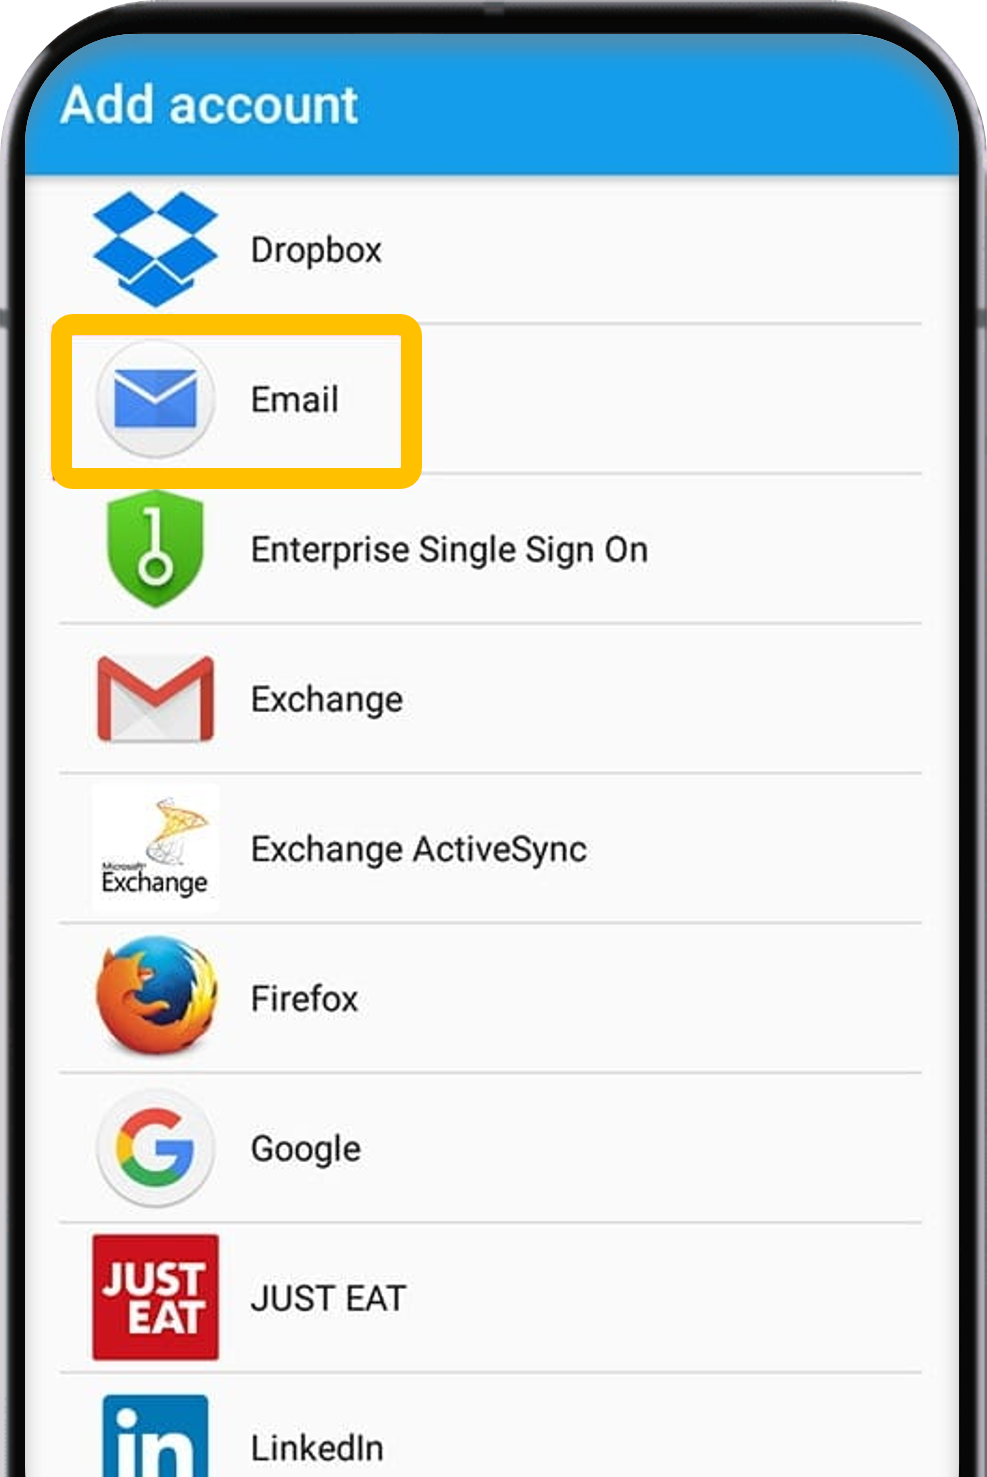
On some Android devices this is called “Email” or sometimes it might be “Corporate”.
You’re looking for the appropriate choice where you can enter the IMAP details.
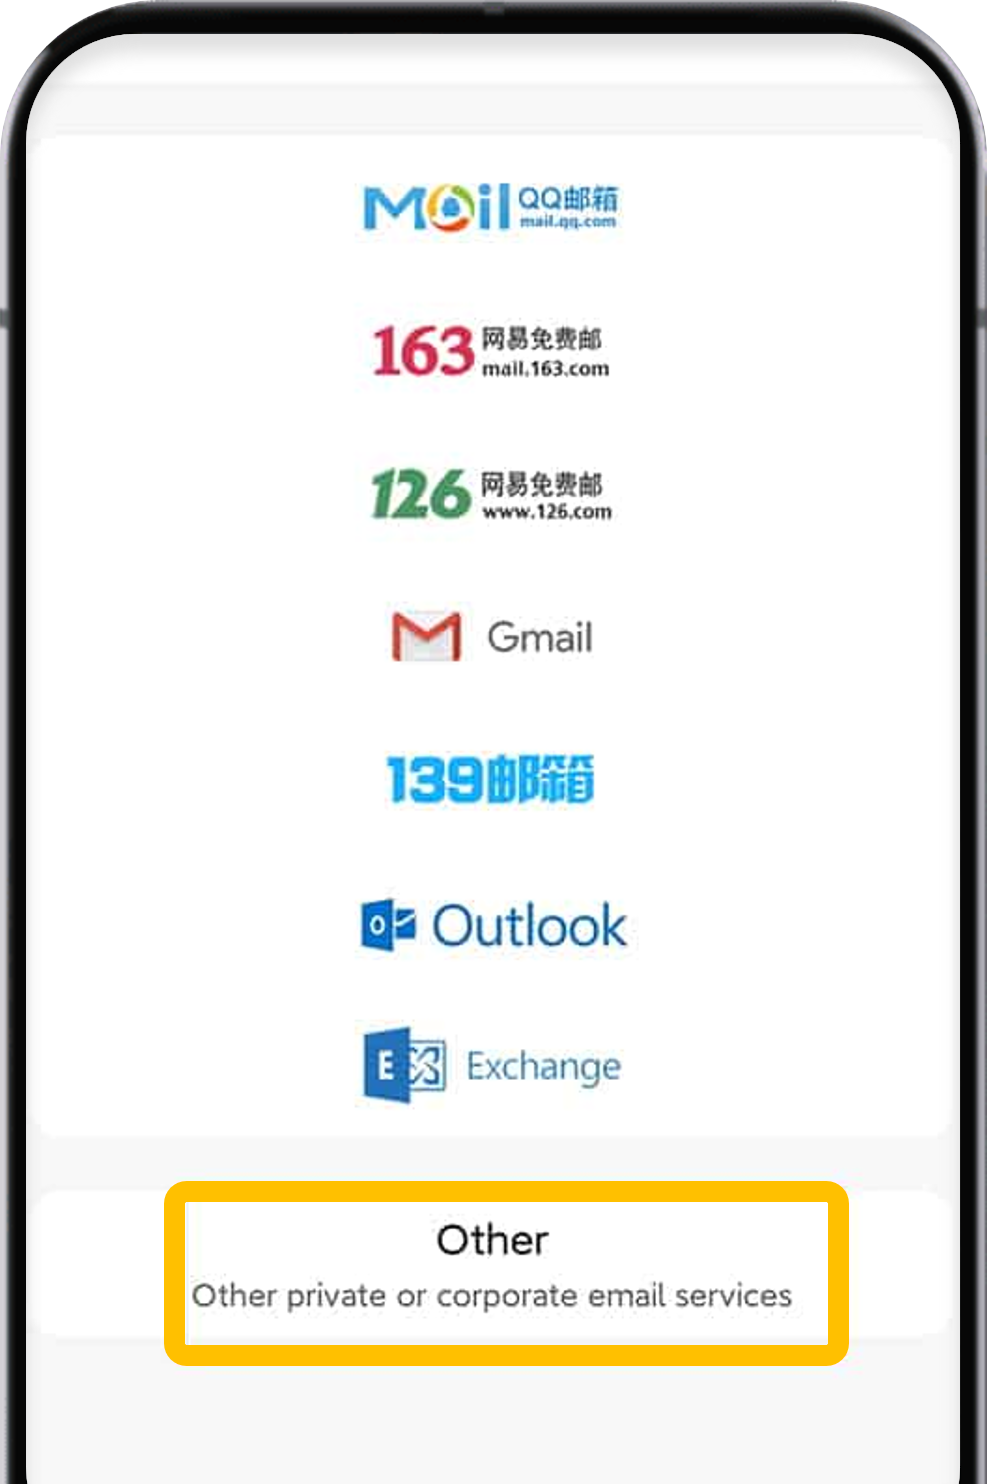
There are many options to set up an email, you need to select “Other” for setting up your IMAP account.
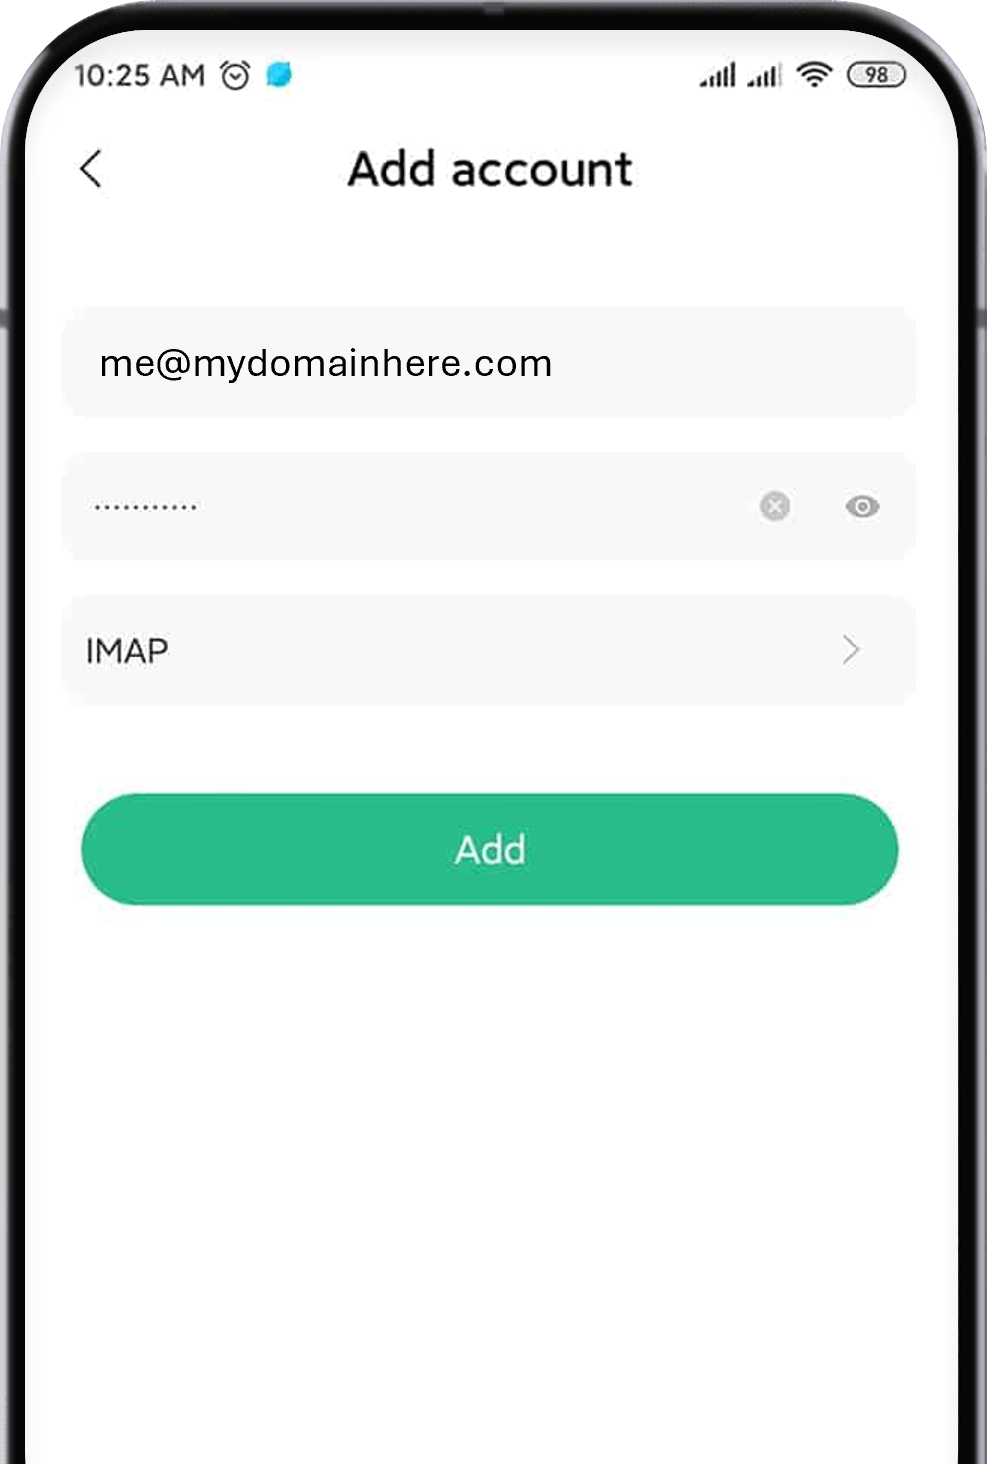
You need to enter your username (which is your email email account), password and select the “IMAP” option.
You need to enter the correct IMAP details.
For example:
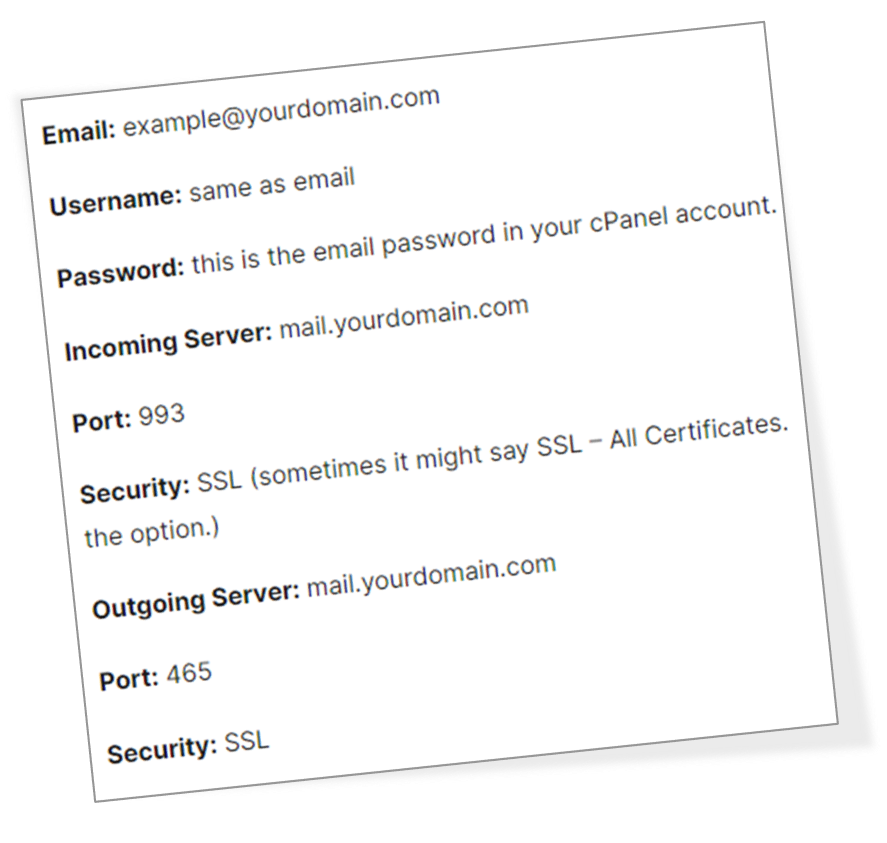
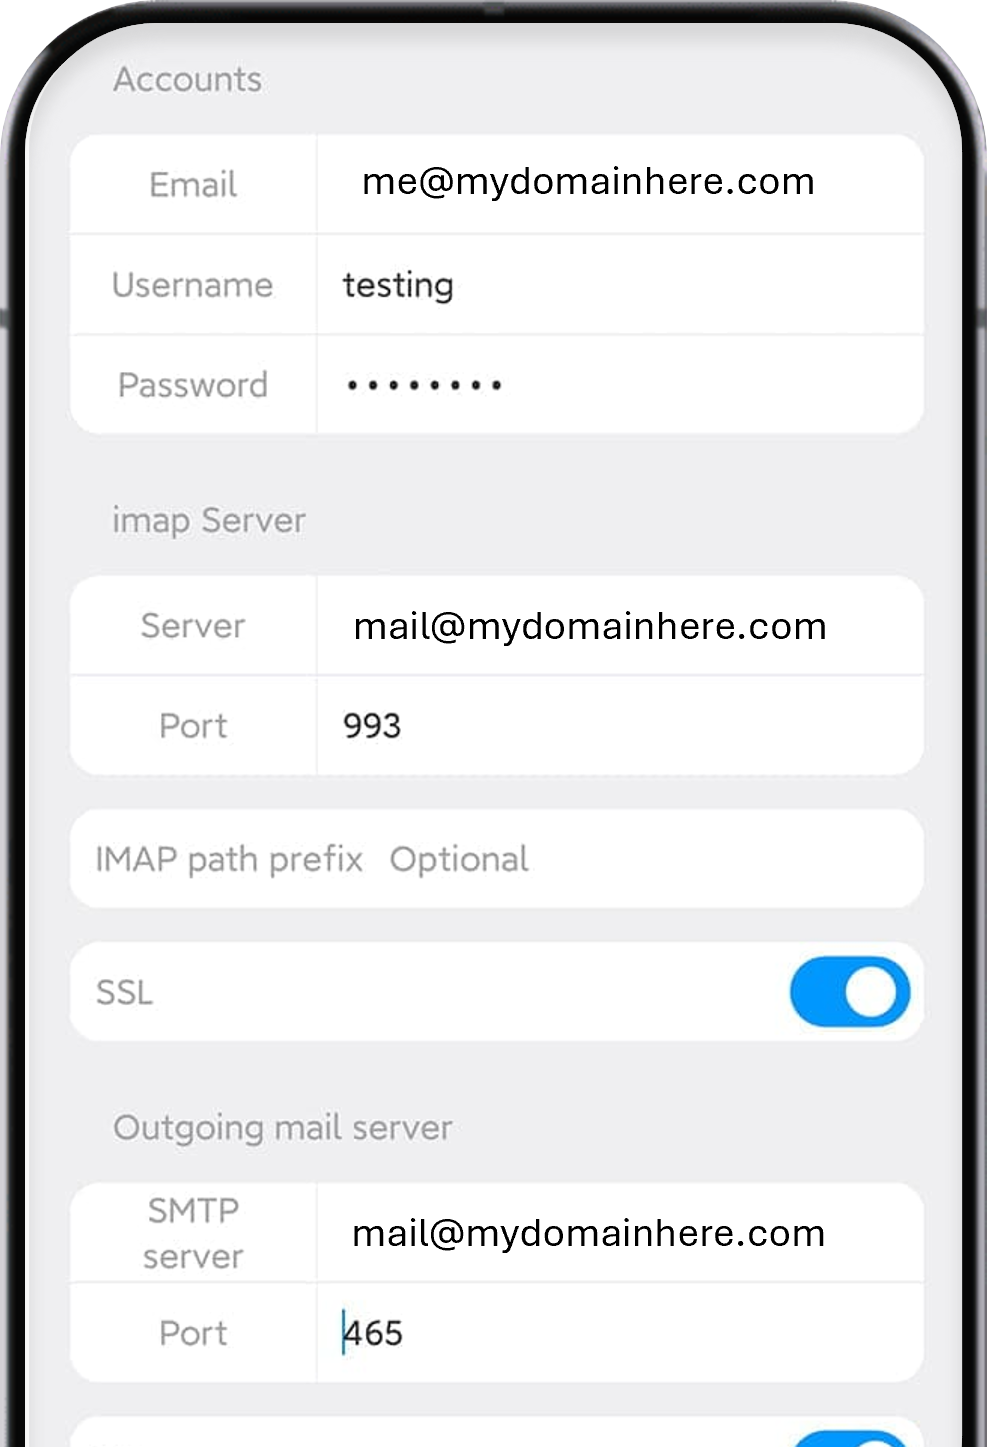
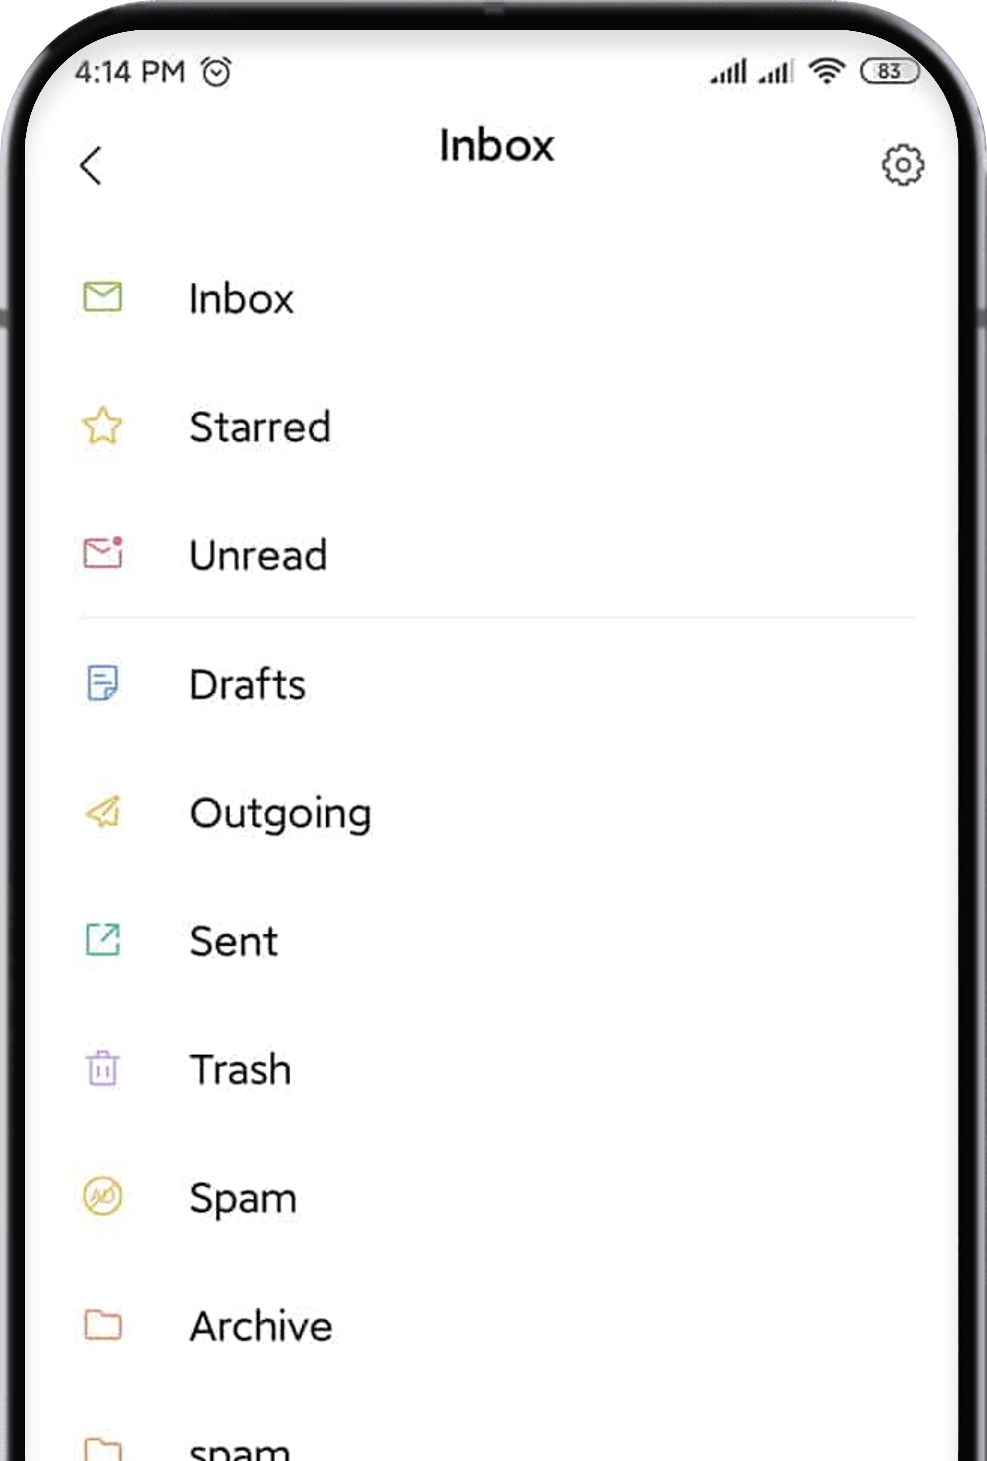
After finishing your IMAP set up, you will be waiting for the account verification. If your details are correct, you can go to the “Mail” app and send a test email.
If the verification has failed, go back and check that you have your settings correct. Check your email, password and IMAP settings to see if you have any mistakes.
Source Microsoft Support: https://fctv.social/xiN
Set up Outlook for Android for the first time
Install the Outlook for Android app from the Google Play Store and then open it.
Tap Get Started if this is your first time.
Otherwise, to add another email account, open the Menu More button 〉Settings Settings 〉Add Account 〉Add Email Account. Then skip to step 4 under Set up another email account below.
Outlook may detect your Google accounts. To add them to Outlook for Android, tap Google Connect Account and then tap OK to confirm. Tap Allow to give Outlook access to your Contacts.
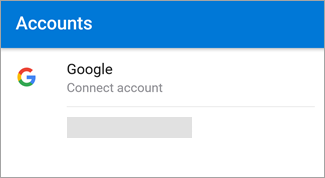
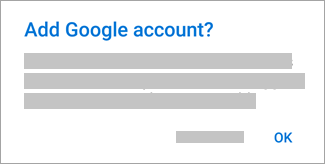
If you don’t want to add these accounts, tap Skip and then go to step 4 under Set up another email account below.
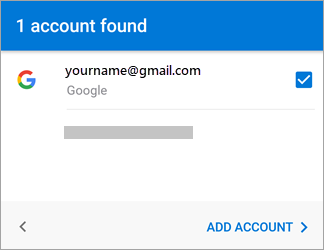
Select the accounts you’d like to add and tap Add Account. You may be asked to sign in.
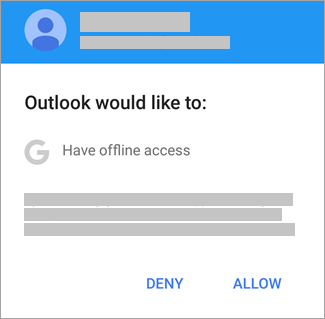
Tap Allow to confirm offline access and any other prompts.
To add another email account, tap Continue and go to Step 4, otherwise tap Skip.
Set up another email account
Enter your full email address, then tap Continue.
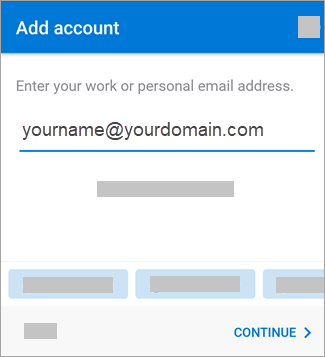
Note: If you’re asked to choose your provider, you’ll have to Set up your Exchange manually or set up an IMAP or POP account.
Set up IMAP account in Outlook for Android
1. In Outlook for Android, go to Settings 〉Add Account 〉Add Email Account.
2. Enter email address. Tap Continue. When asked to select an email provider, choose IMAP.
3. Toggle Advanced settings on and enter your password and server settings.
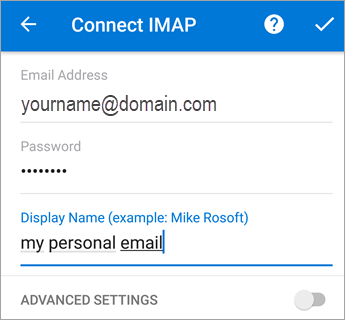
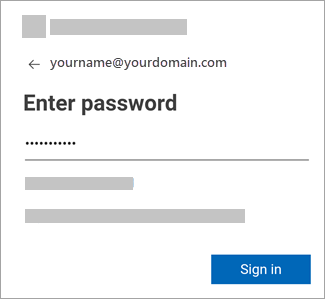
Enter your email account password and tap Sign In or Next.
Note: The sign in screen may look different for you depending on your provider.
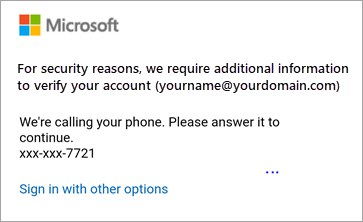
If multi-factor authentication is enabled, verify your identity.
Need more help with your device and software? You’ll need to contact Microsoft direct. Save time by starting your support request online and Microsoft will connect you to an expert.

We’re here to help
Get support for all Fectiv products or connect with a Fectiv specialist.